edgeCore version: 4.6.0
This feature enables you to select multiple rows in tables and lists and perform actions against the selected records by using CTRL or SHIFT to queue up selection.
Right mouse clicks handle all actions that depend on multi-selection.
Enabling Multiple Selection in Table
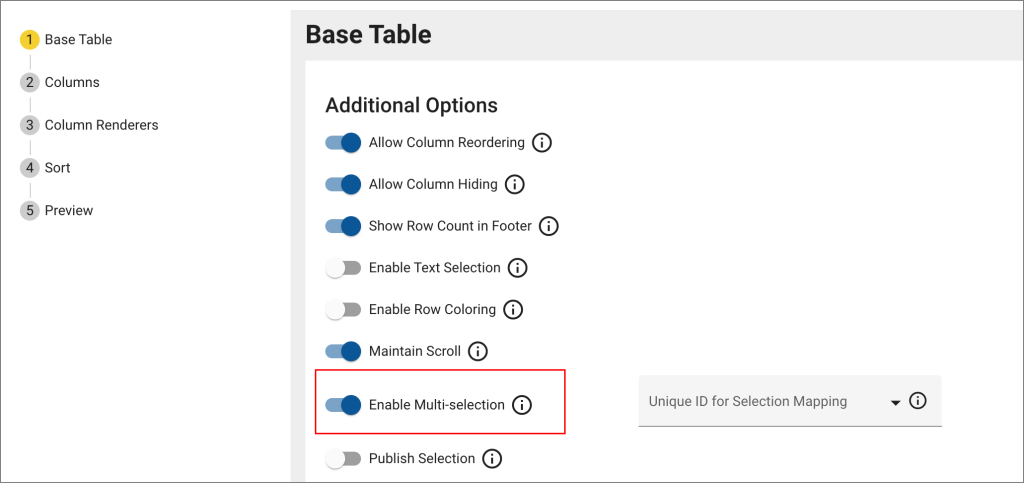
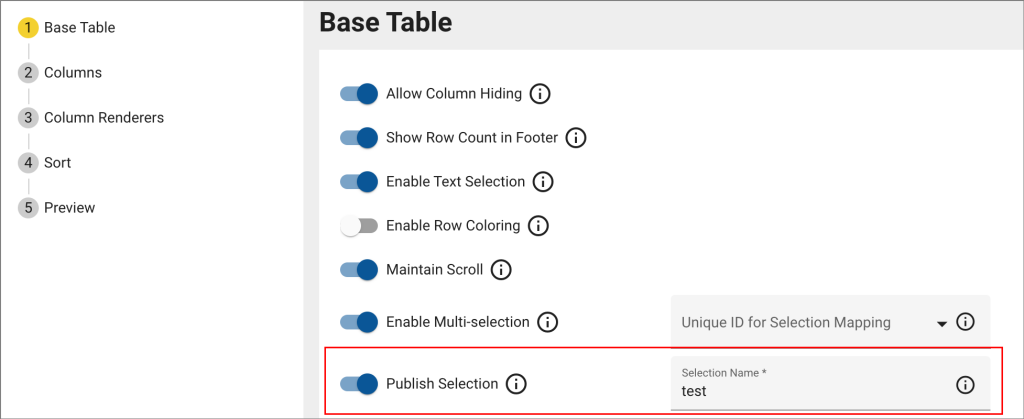
When configuring or editing a table visualization, turn on the Enable Multi-selection toggle switch in Base Table tab to enable multiple selection.
Enabling Multiple Selection in List
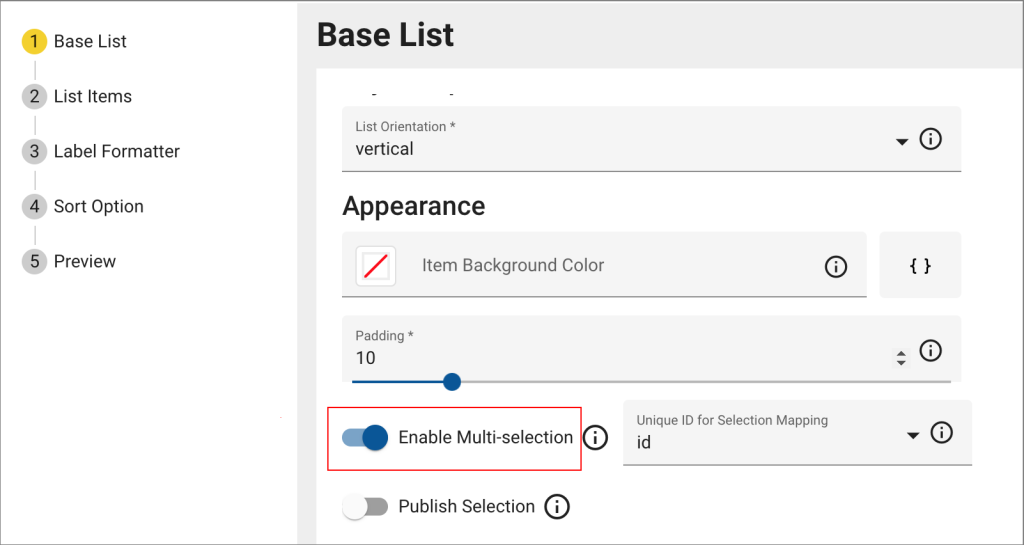
When configuring or editing a list visualization, turn on the Enable Multi-selection toggle switch in Base List tab to enable multiple selection.
Actions and Page Variables in Multiple Selection
Right mouse clicks handle all actions that depend on multi-selection.
The flow is as follows:
- Create a right-click action.
Go to three dots > Edit Actions > Add > Right Click Row > select any action (for example, Set Variables) - Once the action is created, go back to the table or list.
- Hold CTRL or SHIFT and left click to select multiple rows in a table or list.
- Right click to perform the previously configured right-click action against the selected rows.
In addition, actions that satisfy Page Variables have an option to satisfy a Page Variable with a “summary” of the selection model (Multiple Selection option from the dropdown) and build a JSON or string delimited list (Value Aggregation Method).
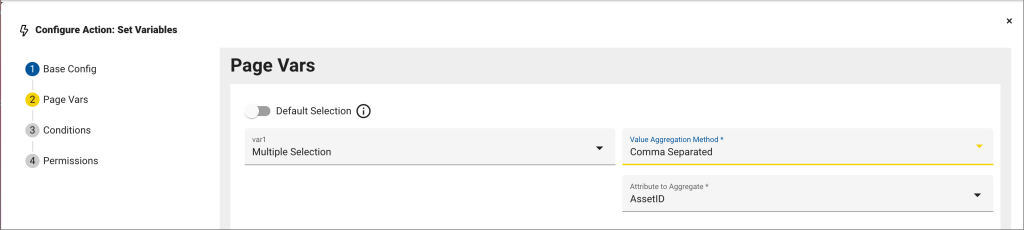
For the purpose of this example, we have created a right-click action that will set a page variable. The page variable will be satisfied with multiple selection and it will build a comma separated list (in table) and JSON array (in list) based on the selected attribute. A demo is available here.
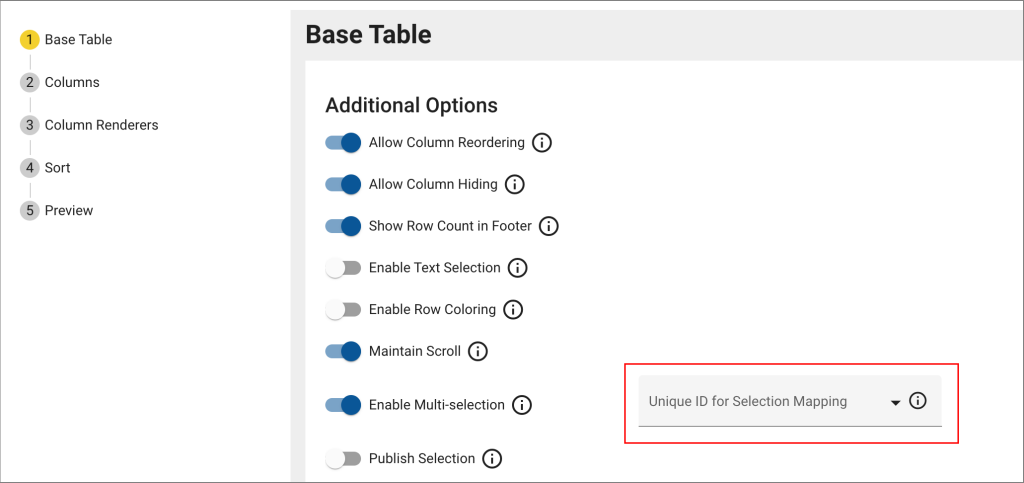
Unique ID for Selection Mapping
When you enable multi-selection, an optional field to select a Unique ID for Selection Mapping will be displayed. You will need this ID if you want selection to be maintained across data refreshes. That way you can search for all the records with the ID, instead of checking the contents of the entire row of data to find matches.
HTML Template Accessing the Selection Model
HTML Template is able to access the selection model of any visualization on the page. This model has the entire “row” object as an array. In order for the HTML template to access the selection model, you need to enable the Publish Selection toggle switch when configuring/editing a table or list visualization. Once the toggle is enabled, you need to provide a unique name for the selection model. You are going to use that name to access the selection in the HTML Template.
For the purpose of this example, this is what our HTML template looks like:
In the HTML tab, we have the following code:
<button mat-flat-button color="primary" (click)="rememberRows()">Remember Selection</button>

<button mat-flat-button (click)="selectRows()">Recall Selection</button>

<div>

{{selection | json}}

</div>
And in the JavaScript tab, we have the following:
component.selection = [];

component.memory = [];

const selectionListener = component.getVisSelectionObserver().subscribe( event => {

  console.log(event);

  component.selection = event.value;

  component.changeDetectorRef.detectChanges();

});

component.onDestroy = () => {

  selectionListener.unsubscribe();

};

component.selectRows = () => {

  if (component.selection.length > 0) {

component.setVisSelection('test', component.memory);

  }

};

component.rememberRows = () => {

  if (component.selection.length > 0) {

component.memory = component.selection;

  }

};
As mentioned above, a unique name for the selection model is used to access the selection in the HTML Template. That unique name is referenced in the following piece of code we had in our JavaScript tab of the HTML template:
component.selectRows = () => {

  if (component.selection.length > 0) {

component.setVisSelection('test', component.memory);

  }
In the video above, you will see that as you select multiple rows in either table or list, the selection will be displayed in the HTML template as an array.