Related pages:
- Custom Visualizations Overview and Prerequisites
- Generating a Custom Visualization
- Generating a Custom Visualization ZIP File
- Custom Visualization Files
To install a custom visualization extension, take the following steps:
- Log in to EdgeCore as an Administrator.
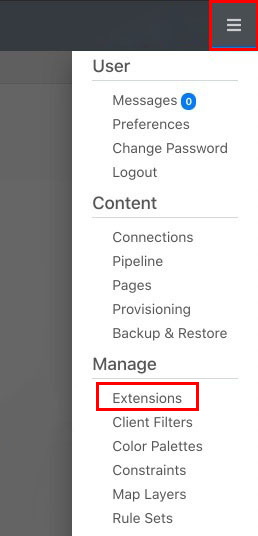
- Click the hamburger menu in the upper right corner to access the system menu.
- Click Extensions.
A new page is displayed, containing a list of activated extensions.
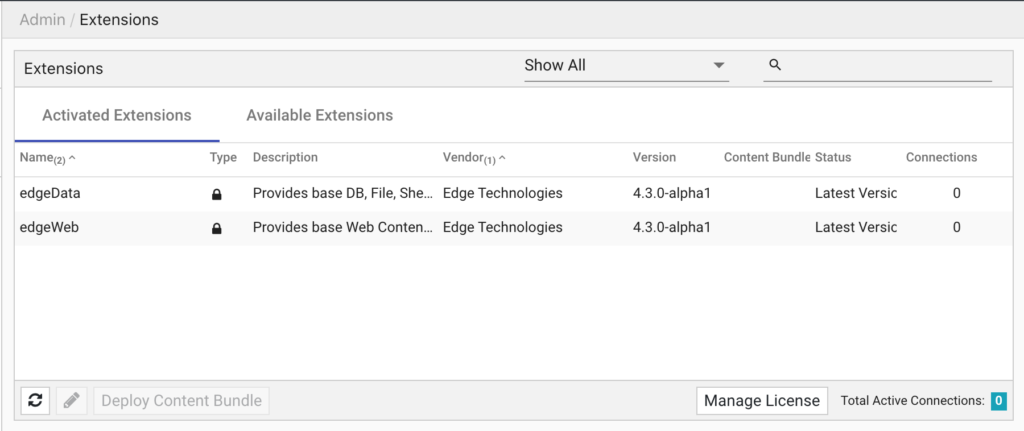
- Click the Available Extensions tab.
A list of extensions (if any) is displayed.
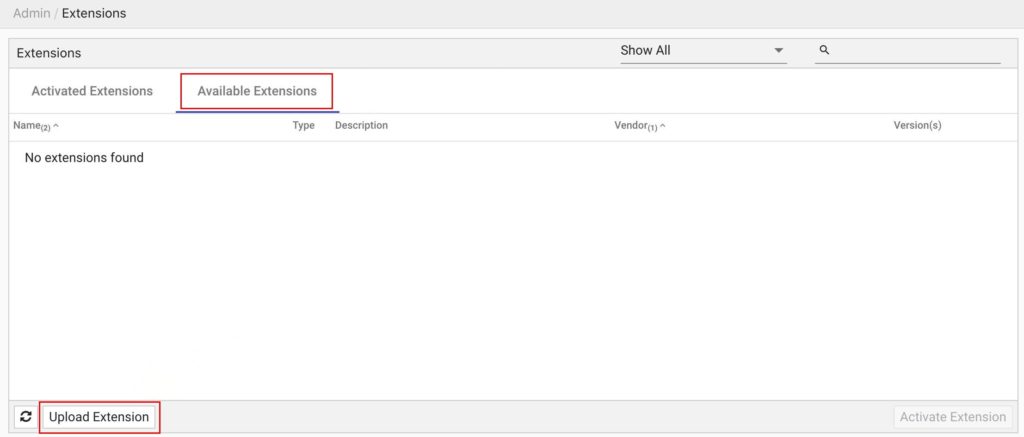
- Click Upload Extension.
A dialog box is displayed. - Select files to upload.
You can either drag and drop your custom visualization extension .zip file (helloworld-1.0.0.zip from our example) into the gray rectangle or click Add Files… to use a file chooser.
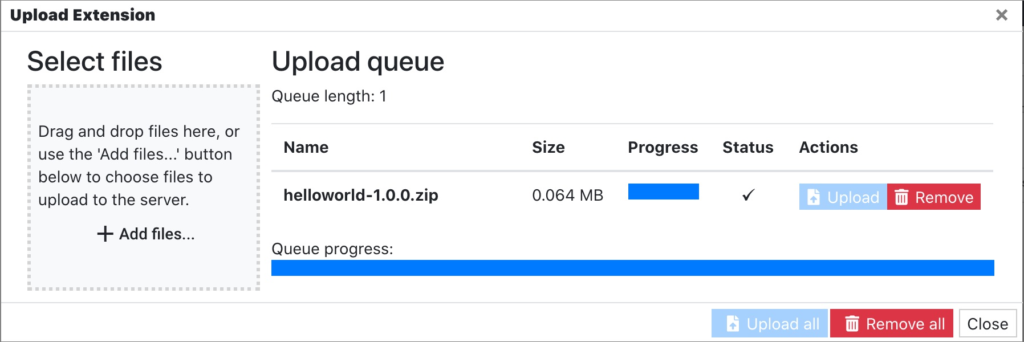
- Click Upload and close the dialog.
The uploaded extension HelloWorld is displayed in Available Extensions.
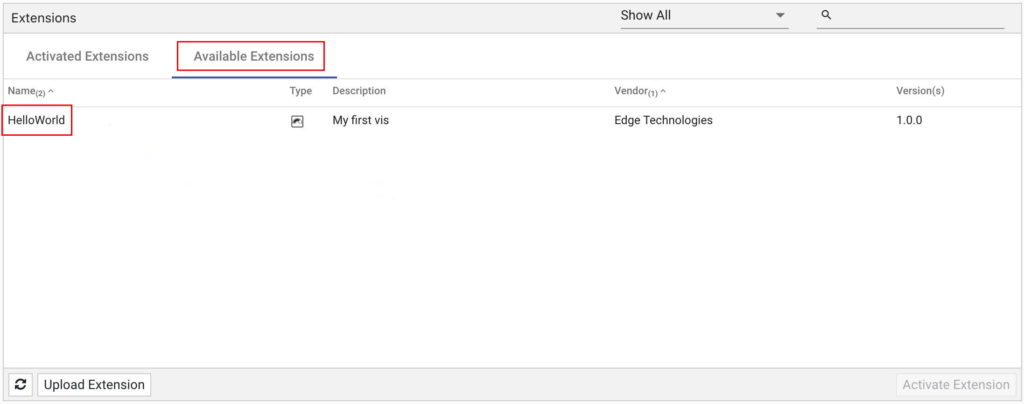
- Double-click the uploaded extension to activate it.
A pop-up is displayed. - Verify the extension details and click Activate.
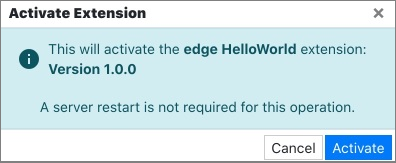
A pop-up appears. - In the pop-up, click Refresh Browser.
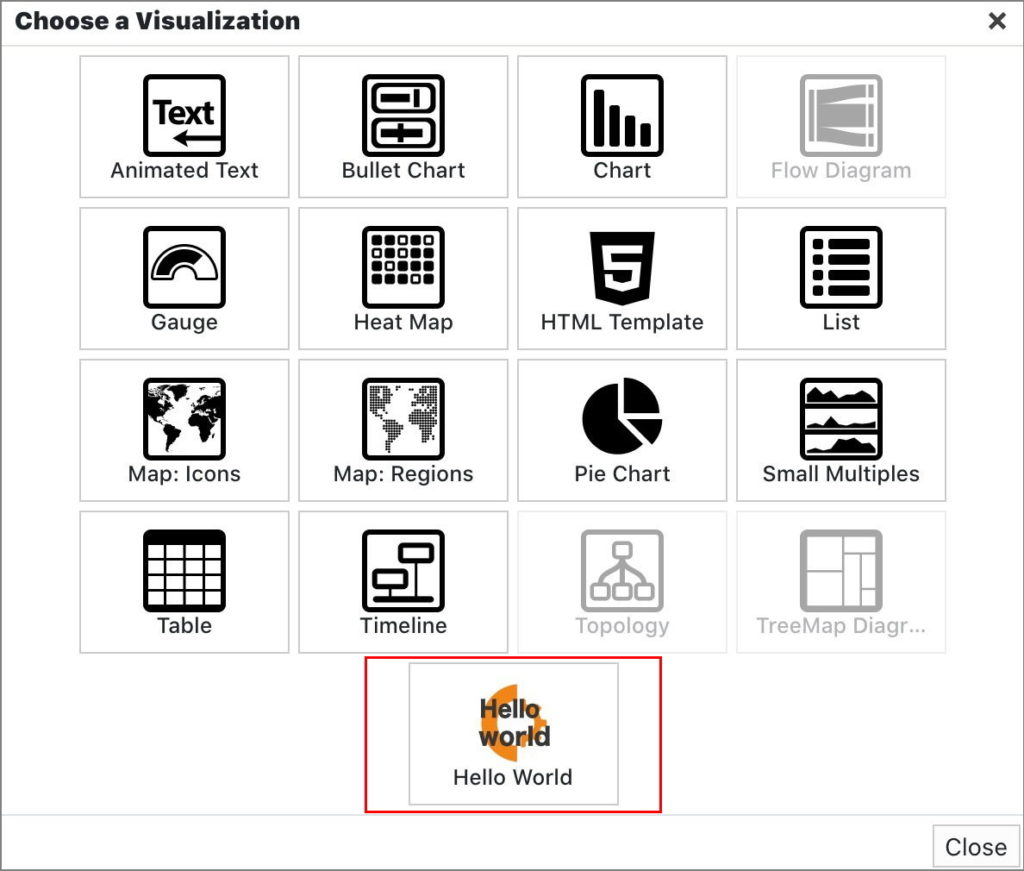
Your extension is added to EdgeCore.
When adding visualizations to a pipeline, your custom visualization will also be displayed as one of the options.
Deactivating Custom Visualization Extensions
Deactivating custom visualizations is done in the same way as deactivating adapters.