How to Install Adapters
To obtain new or updated adapters, contact the Edge Support team. Adapters are ZIP files with the following format: vendor.product-x.y.z.zip where the x.y.z represents the version of the adapter. An adapter may support multiple versions of a specific application.
To install or upgrade an adapter as an administrator:
- Place the adapter ZIP into
[INSTALL_HOME]/modules/on the server running EdgeCore. - Go to the system menu in the upper-right corner > Manage > Adapters.
Adapters that have already been installed are displayed (if any).
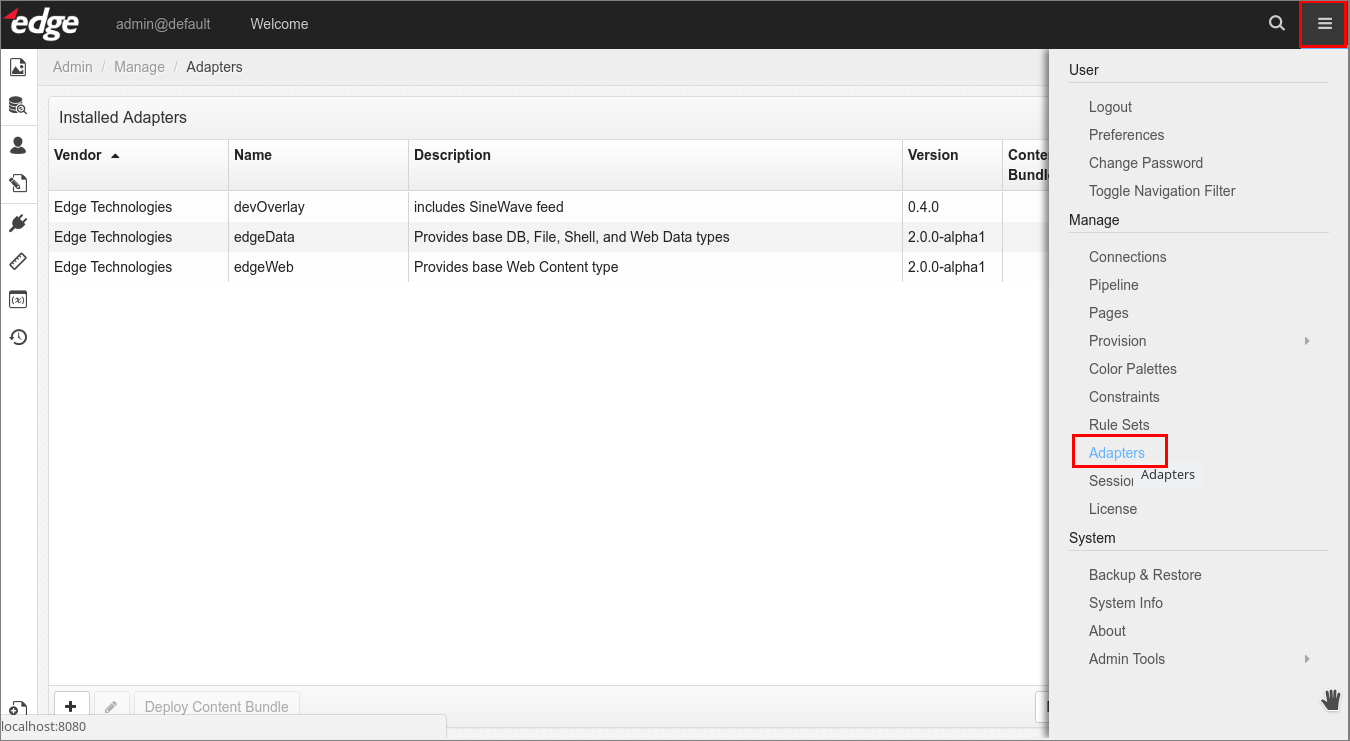
Please note that you will need to reload the page if the ZIP was only just added onto the server filesystem (otherwise it will not be visible). - Click the + button at the bottom left to add a new adapter.
A list of available adapters on the filesystem is displayed.
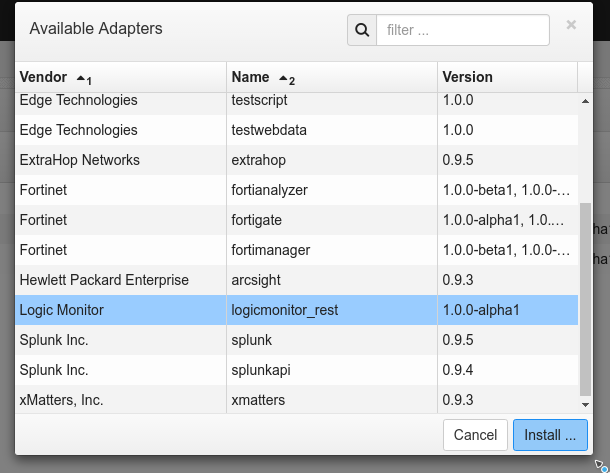
Note: If a previous version of the adapter is already installed, then the Status column will display the Update Available button which can be used to start the process. - Select an adapter and click Install.
A confirmation dialog will be displayed if only one version is available, otherwise, a list of versions (only newer if upgrading) is shown, and you can select which version to install. The installation process can take a few moments. Once complete, a confirmation message will be displayed.
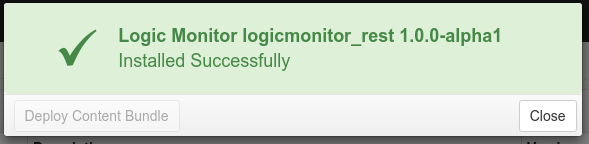
- Click Close.
The adapter will be displayed in the list of installed adapters.
EdgeCore 4.3.0 and above
To access, upload, and activate adapters:
- Go to the system menu in the upper-right corner > Manage > Extensions.
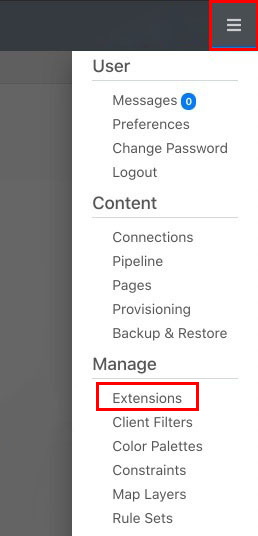
The Extensions page is displayed.
Adapters that have already been installed/activated are displayed in Activated Extensions, whereas available adapters are displayed in Available Extensions.

Tip: You can filter extensions by using the drop-down list.
The following filters are available: Show All, Web Adapters, Data Adapters, Visualizations, and Other. - In Available Extensions, click Upload Extension.
- Select your extension file(s) and click Upload all.
The uploaded extension(s) is displayed in Available Extensions. - Click on the uploaded extension and then click Activate Extension in the bottom-right corner.
A pop-up is displayed. - Click Activate.
A pop-up notifies you that the extension is activated. - Close the pop-up.
The extension is displayed in Activated Extensions.