Applies to edgeCore versions prior to 4.8.0 (for version 4.8.x, go to the end of the page)
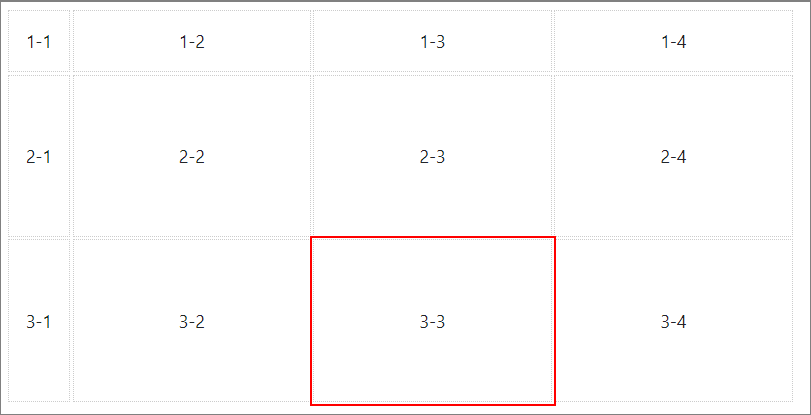
The Grid Layout is based on CSS and as such divides a page into rows and columns and uses grid cells for aligning views in the layout. Additionally, this layout makes it easy to design a page without having to use floats and positions, and you can achieve almost any type of layout you need.
Creating/Defining Grid Layout
- From the admin menu, create a page.
- Access this page and enter the Edit mode.
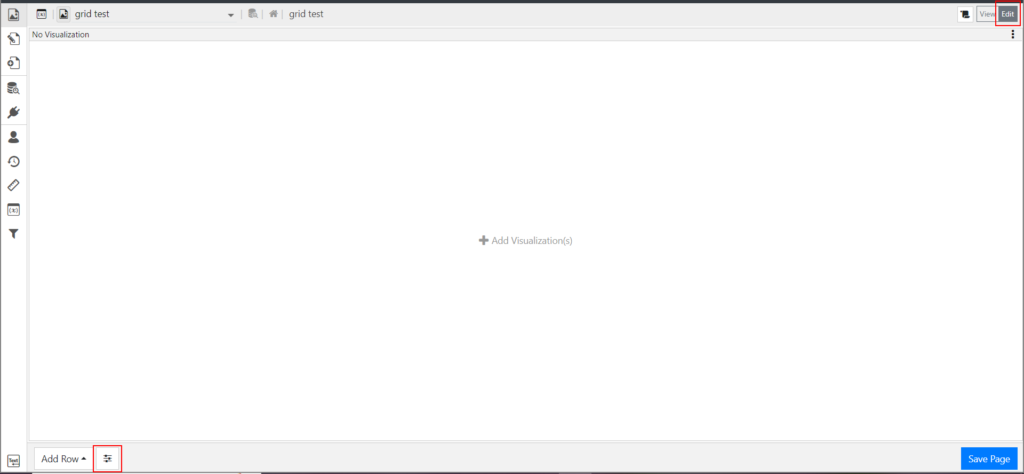
- Click the Page Options icon in the bottom-left corner.
A pop-up is displayed. - Click Grid to select it.
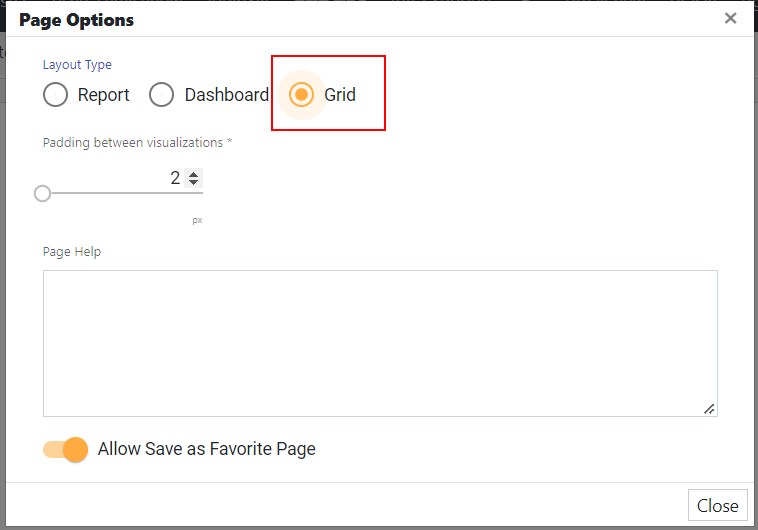
- Click Close.
The Edit Grid Layout button is displayed on the page.
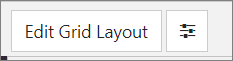
- Click Edit Grid Layout to start defining the layout.
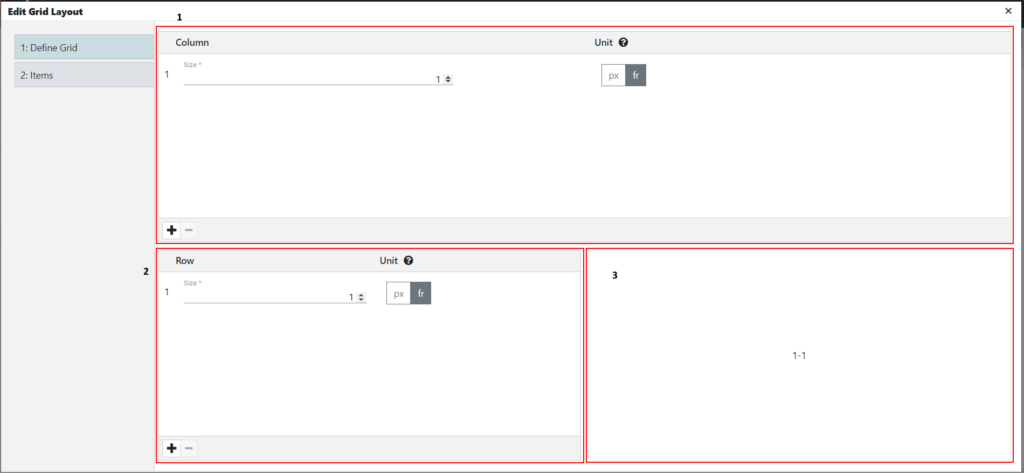
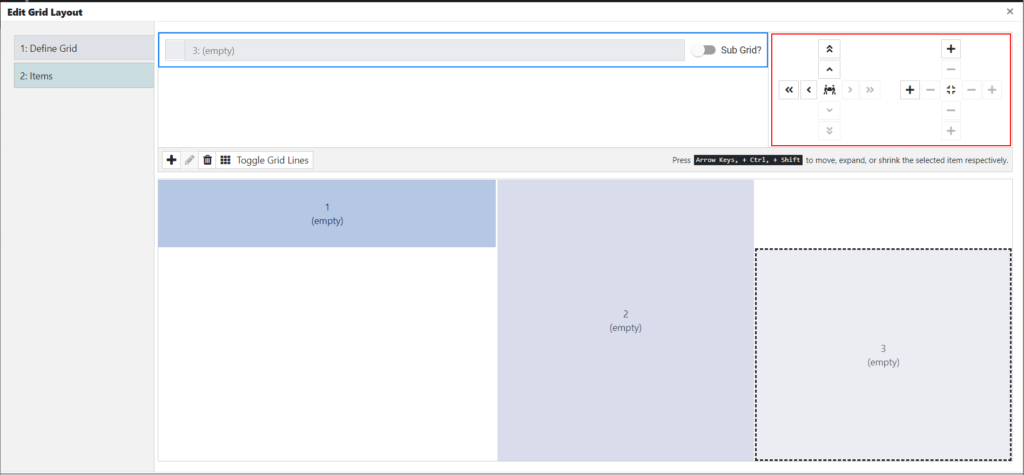
As seen in the screenshot above, there are three areas:
1– where you add and/or remove columns and set their size in either pixels or fractions
2– where you add and/or remove rows and set their size
3– the preview where you can see what the grid will look like based on the columns and rows you added
Basic Concepts
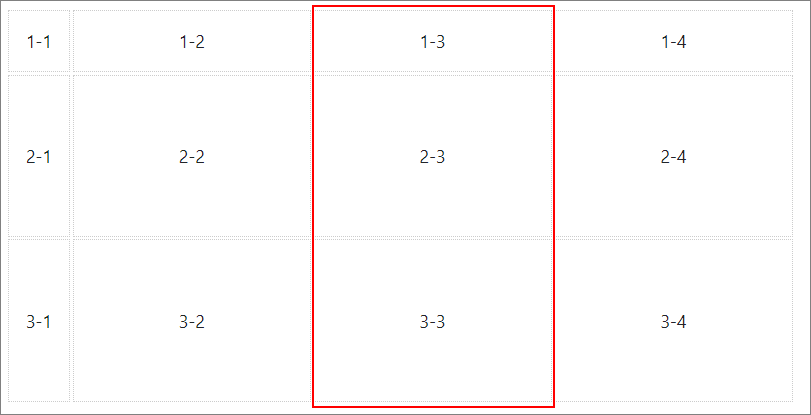
- Columns are the vertical lines of grid items.
- Rows are the horizontal lines of grid items.
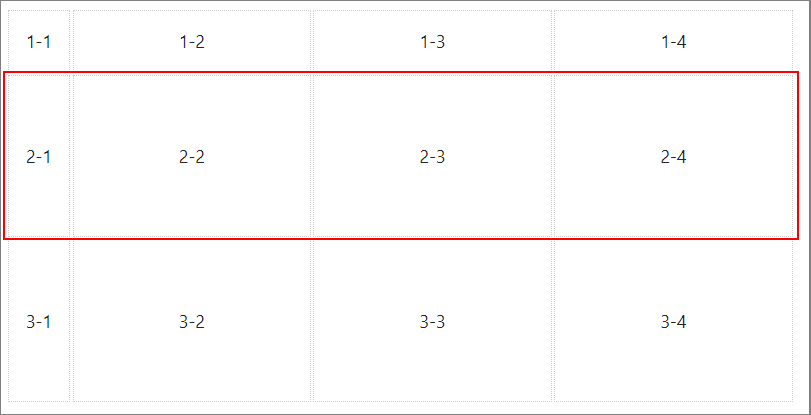
- A grid cell is the smallest unit on a grid.
- The grid can be fixed, that is, you can set it to a specific pixel (px) that fits the layout you desire. You can also create a grid using flexible sizes with the fr unit (fractional, which means a portion of the remaining space).
- Subgrid allows grid items to have a grid of their own that inherits grid lines from the parent grid.
Stacking Items
After defining the grid, go to the Items tab to add items that will be immediately previewed in the dedicated space. Here you can control the order in which items stack up – you can move, expand, or shrink items.
Once you are done stacking items, after saving your changes, you will land on the page and those items will be displayed. You can proceed by adding visualizations.
You can watch a short demo here.
Some limitations:
- When you add visualizations, you will not be able to add/remove rows or columns via the container’s menu (three dots on the right);
- When you add visualizations, you will not be able to resize visualizations by dragging their borders;
edgeCore version: 4.8.0
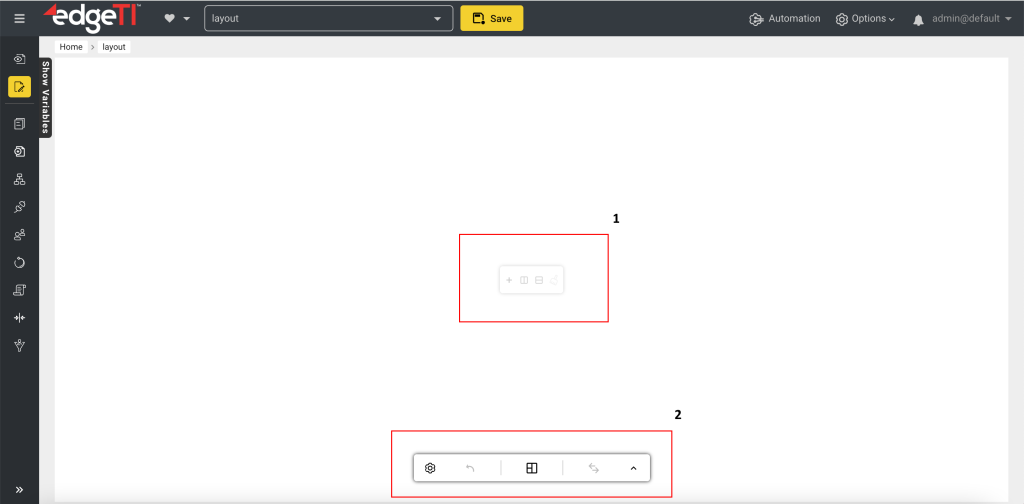
When you access a page in the Edit mode, you will see basic actions you can perform on the page (number 1 in the screenshot) and the grid layout editor (number 2 in the screenshot).
Performing Basic Actions
As seen in the screenshot above (1), you can perform the following actions on pages in the Edit mode:
- Add Visualization (once you add a visualization, this option becomes Change Visualization, so you can easily replace the one you added)
- Split Horizontal (Split options enable you to choose a placement for the visualization — left, right, top or bottom)
- Split Vertical
- Clear Visualization (this option becomes active when you add a visualization to the page)
Grid Layout Editor
As seen in the screenshot above (2), the grid layout editor is at the bottom of the page by default and has the following options:
- Configure Layout (enables you to set minimum and maximum width and height values, which was previously done in Report before 4.8.0 version)
- Undo (this option becomes active when you make any change and it then allows you to undo that change/action)
- Use Preset Layout (lets you use one of the predefined layouts)
- Swap Visualizations (this option becomes active when there are at least two visualizations on the page)
- Move To Top (since the editor is at the bottom by default, you can use the option to move it)
Additional Options
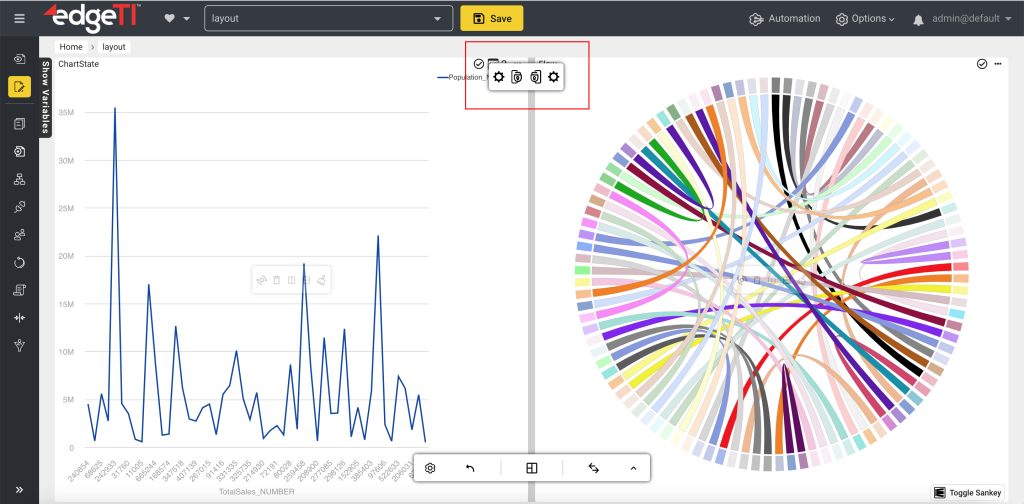
When there are at least two visualizations on a page, you can lock width and height and in that way control dividers in the layout. To do so, hover over the divider and click the lock icon.
edgeCore version: 4.8.1
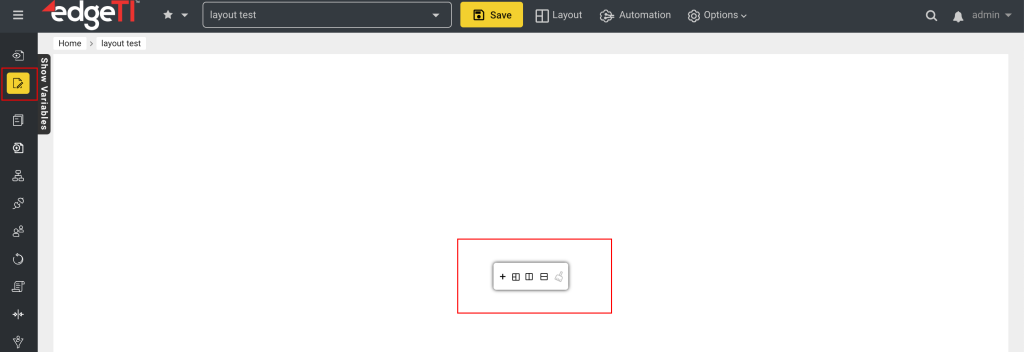
Performing Basic Actions
When you access a page in the Edit mode, you can perform the following actions:
- Add Visualization
- Use Preset Layout
- Split Horizontal
- Split Vertical
- Clear Visualization
To modify the page (for example, change the visualization or clear it), you will need to access the grid layout editor.
Grid Layout Editor
To access the grid layout editor, click the Layout button at the top. The layout editor toolbar is at the top by default.

The layout editor has the following options:
- Configure Layout (enables you to set minimum and maximum width and height values)
- Undo (this option becomes active when you make any change and it then allows you to undo that change/action)
- Swap Visualizations (this option becomes active when there are at least two visualizations on the page)
Additional Options
When there are at least two visualizations on a page, you can lock width and height and in that way control dividers in the layout. To do so, hover over the divider and click the lock icon.
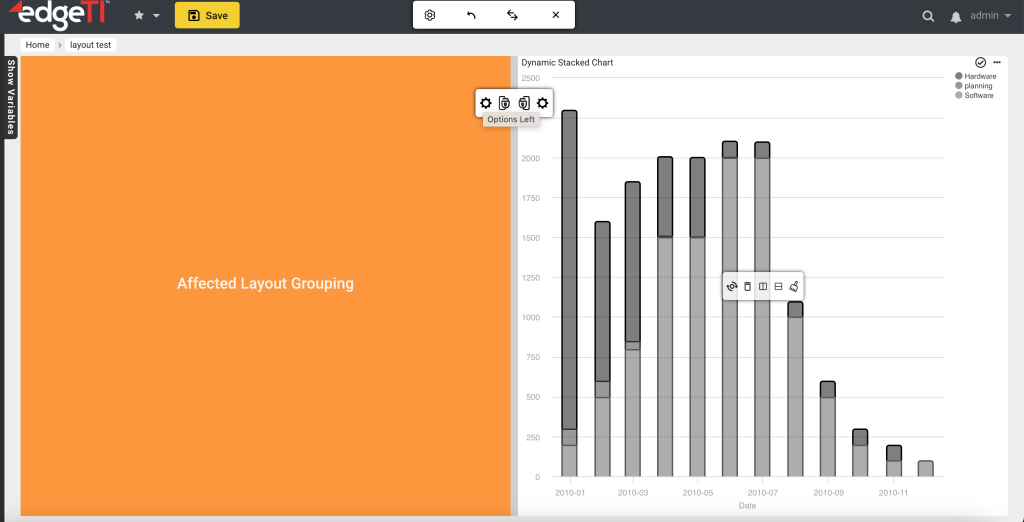
When changing or locking width/height, the affected layout grouping is now highlighted.