edgeCore supports extensions (web adapters) with 3rd party applications that can also be loaded onto the system. edgeCore ships with a base set of extensions as part of edgeData and edgeWeb.
To meet the challenge of integrating, controlling, protecting, and multiplexing fully interactive back-end applications and content over private and public networks, edgeCore offers two types of extensions:
- Web Adapters (Product integration plug-ins): Provide new web-content connection and feed types for a specific application. Proxied views of web-based applications combined with user authentication, Single Sign-On, secure multi-tenancy, and HTML content manipulation. See available Web Adapters here.
- Data Adapters: direct connections to data from a variety of files and databases via Web Services, JDBC, APIs, scripts, or other mechanisms.
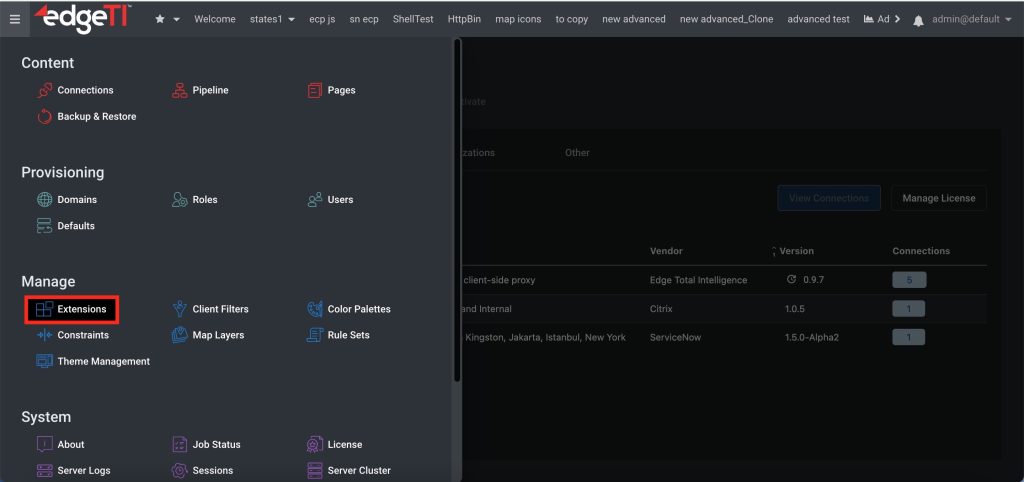
If you want to access extensions, go to the System menu > Manage > Extensions.
Requesting a New Extension
In order for Edge team to build an extension (web adapter), you need to:
- Contact Edge support team.
- Provide the product version that you have.
Installing Extensions
Extensions are ZIP files with the following format: vendor.product-x.y.z.zip where the x.y.z represents the version of the extension (web adapter). An extension may support multiple versions of a specific application (refer to the compatibility matrix for more information).
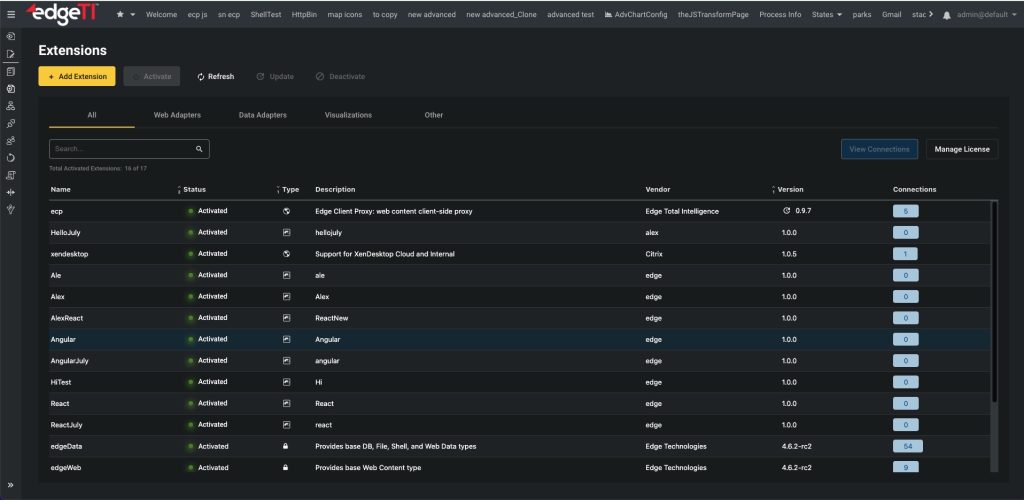
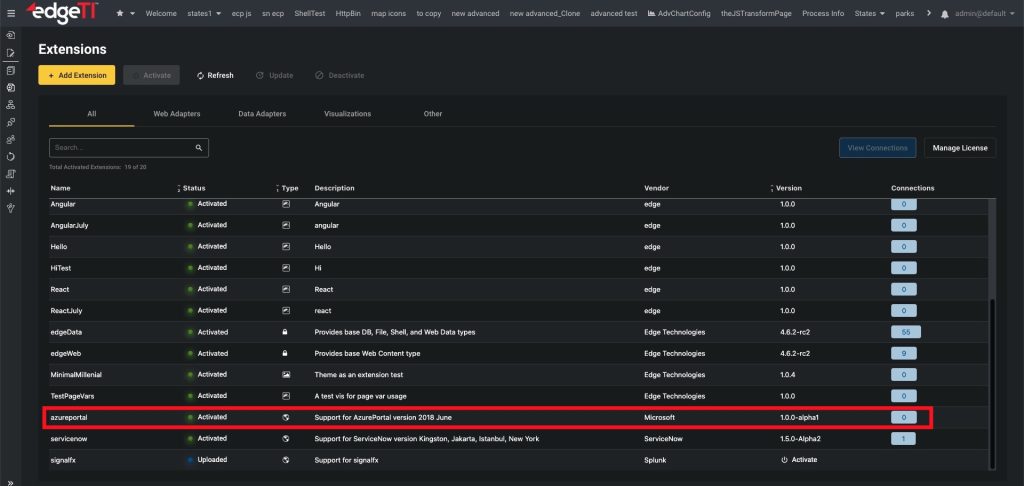
To see the currently installed extensions, load or upgrade them, and check licensing status browse to the System Menu > Manage >Extensions as an administrator. This will launch the Extensions management page as shown below.
By default, the Full Admin role has the permission to manage extensions. If you want other roles to have this permission, you need to grant them the Manage Extensions permission in Provision Roles > Permissions.
To install an extension as the administrator:
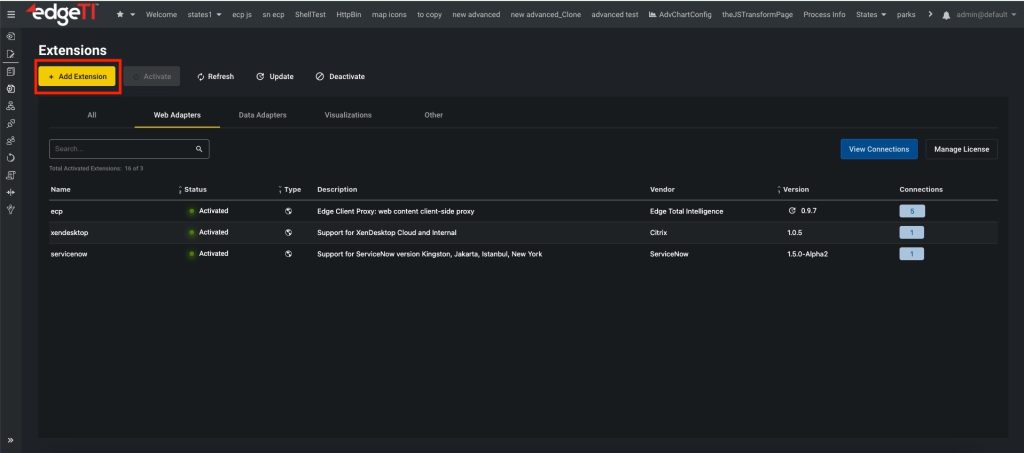
- Click the Add Extension button in the upper left.
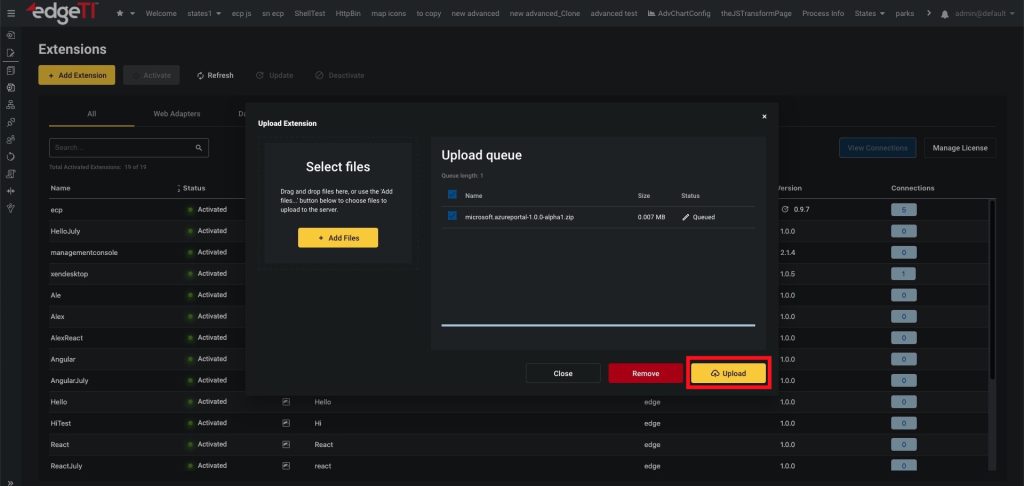
- In the Upload Extension dialog, click Add Files and select the extension you would like to upload.
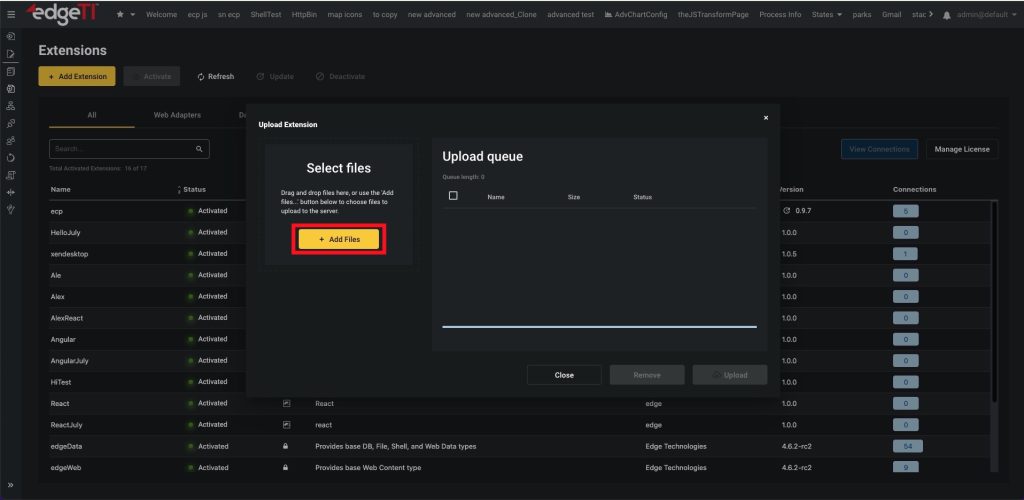
The extension will be displayed in the Upload queue. - Click Upload and then Close.
The uploaded extension will have the status Uploaded and be displayed on the Extensions page.
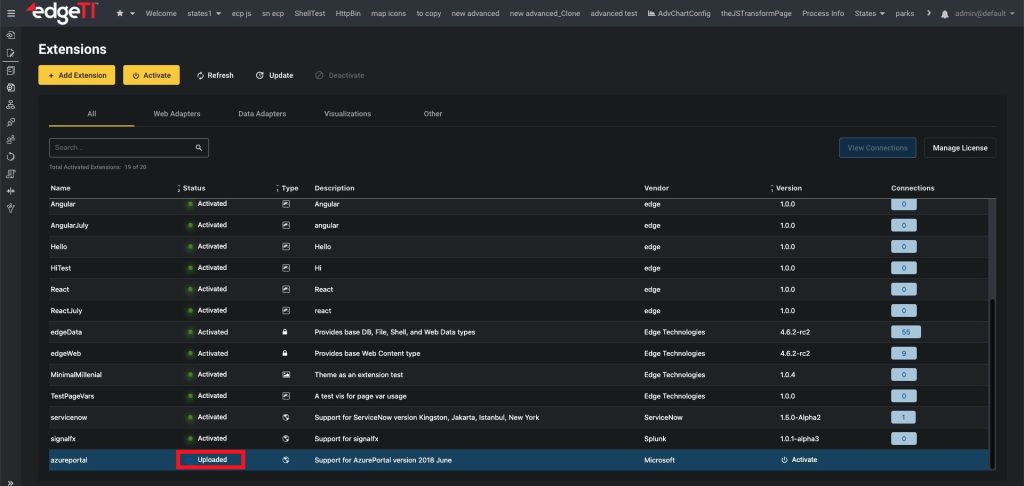
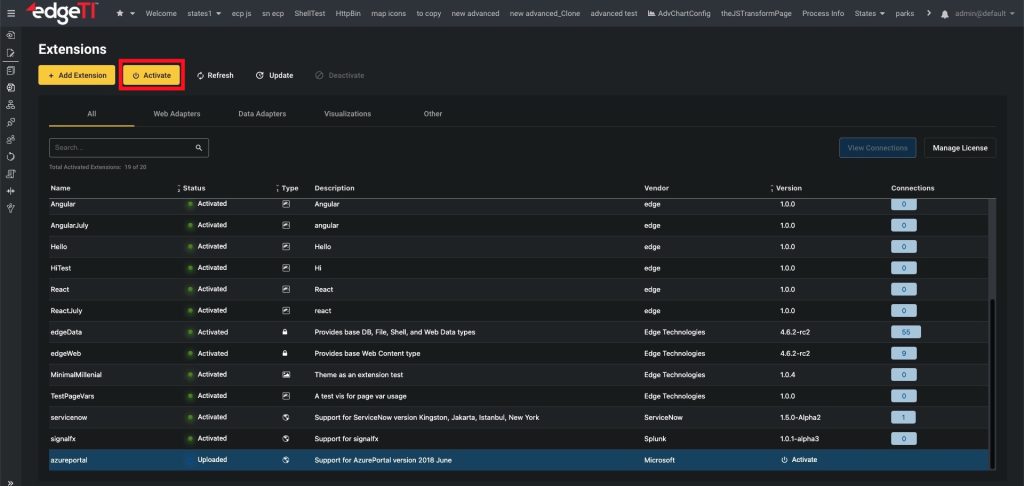
Look for the uploaded extension, select it and click Activate.
A confirmation dialog will be displayed if only one version is available, otherwise a list of versions (only newer if upgrading) is shown, and you can select which version to install. The installation process can take a few moments. Once complete, a confirmation message will be displayed.
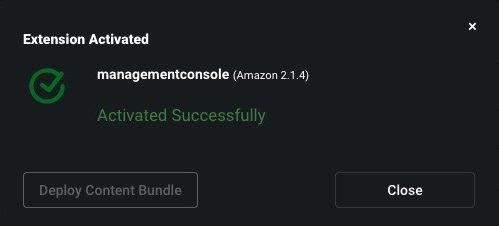
- Close the dialog.
The list will be updated to reflect the change. The extension now has the Activated status, as seen in the corresponding column.
Upgrading Extensions
Extensions that have already been installed/activated are displayed on the Extensions page.
If you would like to upgrade an existing extension, follow these steps:
- Go to the system menu > Manage > Extensions.
The Extensions page is displayed. - Click Add Extension.
- Click Add Files and select the new version of extension you would like to upgrade.
- Click Upload, and after uploading a file, click Close.
- Double-click on the new updated extension and when the Upgrade Extension window shows up, click Update.
Extension Updated message will be displayed.
Deactivating Extensions
To deactivate an extension:
- Go to the system menu > Manage > Extensions.
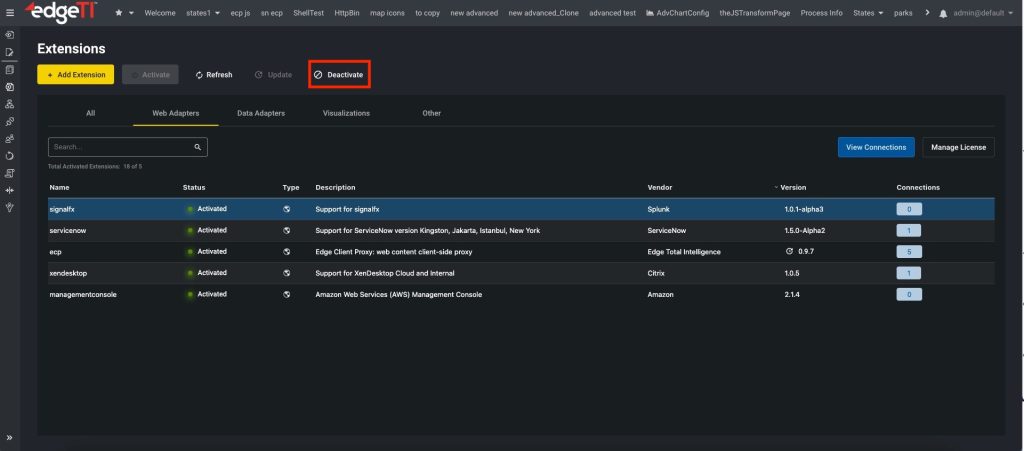
The Extensions page is displayed. - Click on the extension (web adapter) you want to remove and then click the Deactivate button in the upper right corner.
 The Deactivate Extension Confirmation dialog will be displayed.
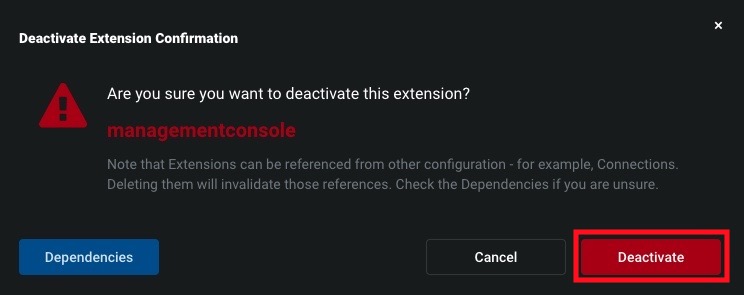
- Click Deactivate and wait until the server reinitializes before refreshing your browser. After you deactivate it, the extension will be in the list of available extensions, and you can activate it again.
Note: Make sure to check dependencies when deactivating extensions.
Displaying Dependencies when Deactivating Extensions
When an extension is being deactivated, the system will check for dependencies and display them when you click on the corresponding button.

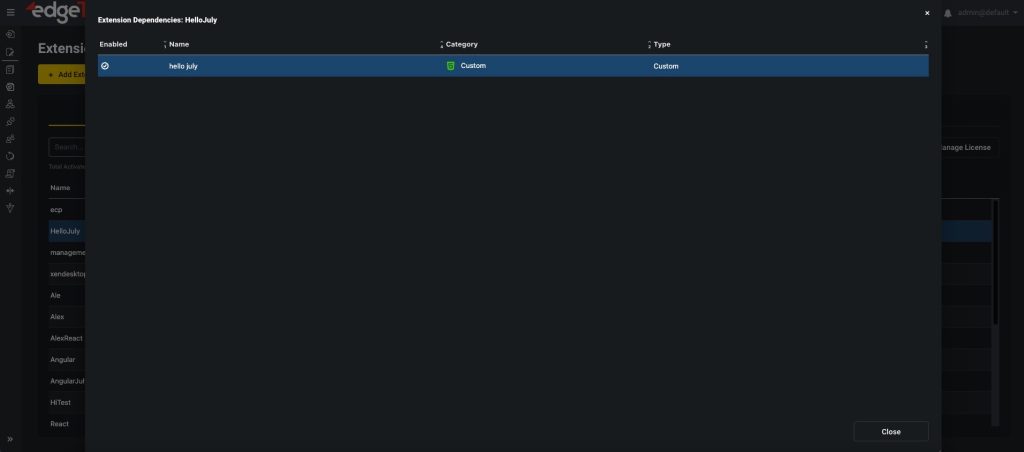
Known issue with dependencies:
- When deactivating custom visualizations and checking dependencies, pages with custom visualizations will not be listed.
Licensing Extensions
Extensions must be licensed in order to use them and the licensing is based on the number of connections for connection types provided by that extension. Click on the system menu > Connections to see the current licensing status in the Licensed column.
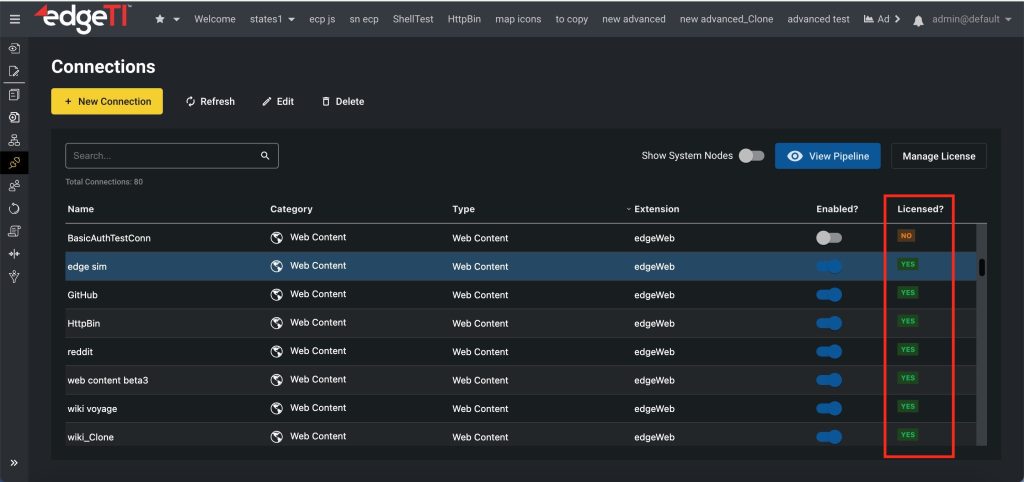
This presents a count of (enabled) connections against the number of licensed connections. Please contact Edge Support or your account representative if additional licenses are required.
For convenience, selecting an extension and double-clicking the row will open a dialog with a list of connections for that extension. From here it is possible to see the enabled state and whether sufficient licenses are available and how they are allocated. See the License Management page for more information on licensing and how to update the license.
Related pages: