edgeCore version: 4.3.10
Overview
You can access and read your email in edgeCore by using either the IMAP or POP3 protocol.
IMAP (Internet Access Message Protocol) is an email protocol that deals with managing and retrieving email messages from the receiving server, and as such is used for receiving messages. POP (Post Office Protocol) downloads the email from a server to a single computer, then deletes the email from the server.
The main difference between IMAP and POP:
- IMAP can be used across multiple devices, and emails are synced in real time.
- POP can only be used for a single device, and emails are not synced in real time — they are downloaded, and you decide how often you want to download new emails.
A list of IMAP and POP3 Servers
The following is a list of the most popular email providers and their IMAP and POP3 servers that you will need when configuring the email connection in edgeCore.
| Email Provider | IMAP Server (Incoming Messages) and Port | POP3 Server (Incoming Messages) and Port | Additional information |
| Gmail | imap.gmail.com
993 |
pop.gmail.com 995 |
– Enable IMAP access – Enable /POP3 access– Allow “less secure apps” (third party apps) – Gmail security updates |
| Yahoo Mail | imap.mail.yahoo.com
993 |
pop.mail.yahoo.com
995 |
|
| Outlook | outlook.office365.com
993 |
outlook.office365.com
995 |
Enable POP access in Outlook.com |
| Zoho Mail | imap.zoho.eu 993 |
pop.zoho.eu
995 |
You need to enable IMAP Access for your Zoho mail account;
You need to enable POP access for the account. |
| Mail.com | imap.mail.com 993 |
pop.mail.com
995 |
|
| AOL | imap.aol.com 993 |
pop.aol.com 995 |
|
| iCloud Mail | imap.mail.me.com 993 |
iCloud does not support POP |
Step 1: Create an Email Connection
- In the pipeline, click + in the bottom-left corner.
A pop-up for choosing a connection type is displayed.

- In the pop-up, select Email and click Use Selected.
A new page is displayed. - In Connection, do the following:
a) In Connection Name, enter a unique name for your email connection (for example, Gmail connection).
b) (Optional) In Description, provide additional information about the connection.
c) Leave the Enable Connection toggle switch on.
d) Click Next to proceed. - In Connection Details, do the following:
a) In Port, enter the port of the IMAP or POP3 Server for your email provider (refer to the list of IMAP and POP3 Servers above)
b) In Host, enter the IMAP or POP3 Server for your email provider (for example, imap.gmail.com)
c) In Username, enter the username you use for your email account (for example, name@gmail.com)
d) In Password, enter the password you use to log into your email account.
e) Click Next to test the connection.
You should see the following message: Connection test was successful. Host is reachable, but connection credentials were not tested.
When you start creating a feed in step 2, if you entered wrong credentials or wrong host/port, you will see an error message Unable to process feature. [AUTHENTICATIONFAILED] Invalid credentials - Click Save and Close.
The email connection is displayed in the pipeline.
Step 2: Create a Feed off of the Email Connection
- In the newly created email connection, click the gear icon button in the connection box and select New Feed.
A new page is displayed. - In Configure, do the following:
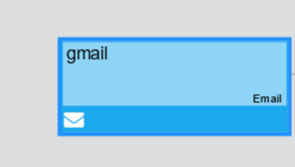
a) In Feed Name, enter a unique name for your feed (for example, Gmail feed).
b) (Optional) In Description, enter additional more detailed information about the feed.
c) In Mailbox Folder, select the folder you want to view, for example Inbox or Sent. The options in the drop-down will differ depending on your email provider.
d) (Optional) In Search in Subject field, enter the text to filter the email subject.
e) (Optional) In Search in From field, enter the text to filter the email from field.
f) (Optional) In Search in Body field, enter the text to filter the email body.
g) In Max Message Age, specify the number of seconds messages will be stored in edgeCore. By default, the maximum age is 604800 seconds (7 days), which means edgeCore will save messages that have been received in seven days or less and delete messages that are older than seven days.
h) In Max Number of Received Messages, specify the maximum number of received messages you want to view.
i) In Max Message Size, specify the maximum size of the message. By default, the size is 10240 bytes.
j) In Filter Attachments, select whether you want to view all emails, those that have attachments, or those that do not have attachments.
k) Enable or disable the Include Attachments toggle switch depending on whether you want the emails to include attachments. By default, the toggle is enabled (attachments are included).
l) In Show Emails, select the emails you want to be shown: all, only those that are read, or only the unread ones.
m) (Optional) Enable the Advanced Update Scheduling toggle switch to define an advanced schedule for updates. You can specify minutes, hours, days of the week or month, or use a cron-like scheduling.
n) (Otional) In Poll Interval, specify how often you can access the data for a feed and also how often the data changes (in seconds). If a server subscription is active (another user is using that node or a server job is making it active), the current data retrieved will be returned. It will not refresh until all server-side subscriptions are closed and a new one is open. If you set the poll interval to 0, that means the data is very static, and you do not expect it to change.
o) (Optional) Turn on the Enable Server Subscription toggle switch in order for data for this feed to be continually fetched, updated, and cached based on the poll interval.
p) (Optional) Enable the Persist toggle switch to use the persistent table store.
q) (Optional) Enable the Publish Dataset via REST API toggle switch to let other edgeCore servers or third-party software connect to this server’s pipeline.
r) Click Next.
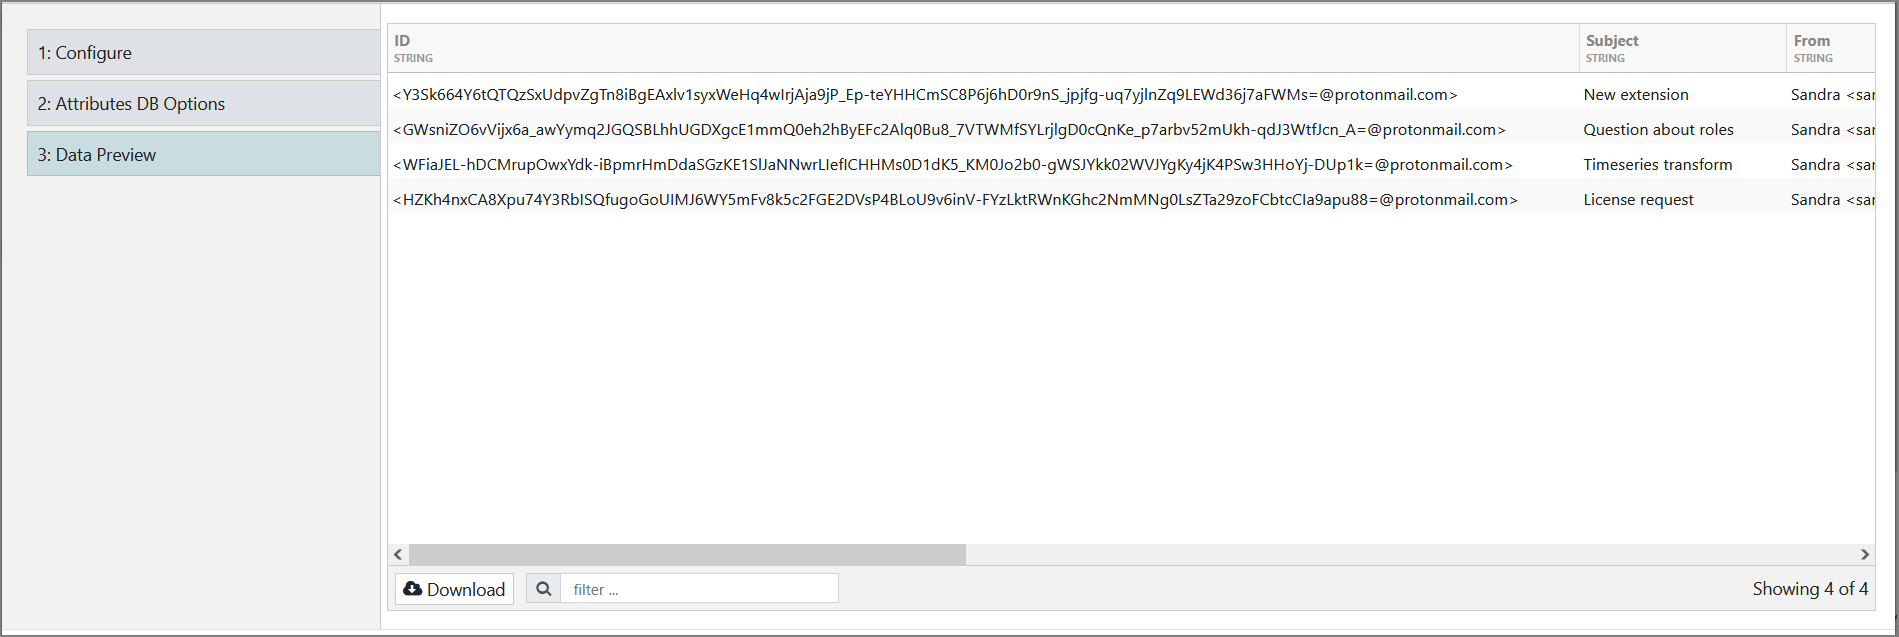
You are taken to the Attributes DB Options tab. No changes are needed here, so click Next to go to Data Preview, where you should see the emails.
- Click Save and Close.
The newly created feed is displayed in the pipeline.

Step 3: Create a Visualization
The final step is creating a visualization for the feed you have just configured in step 2.
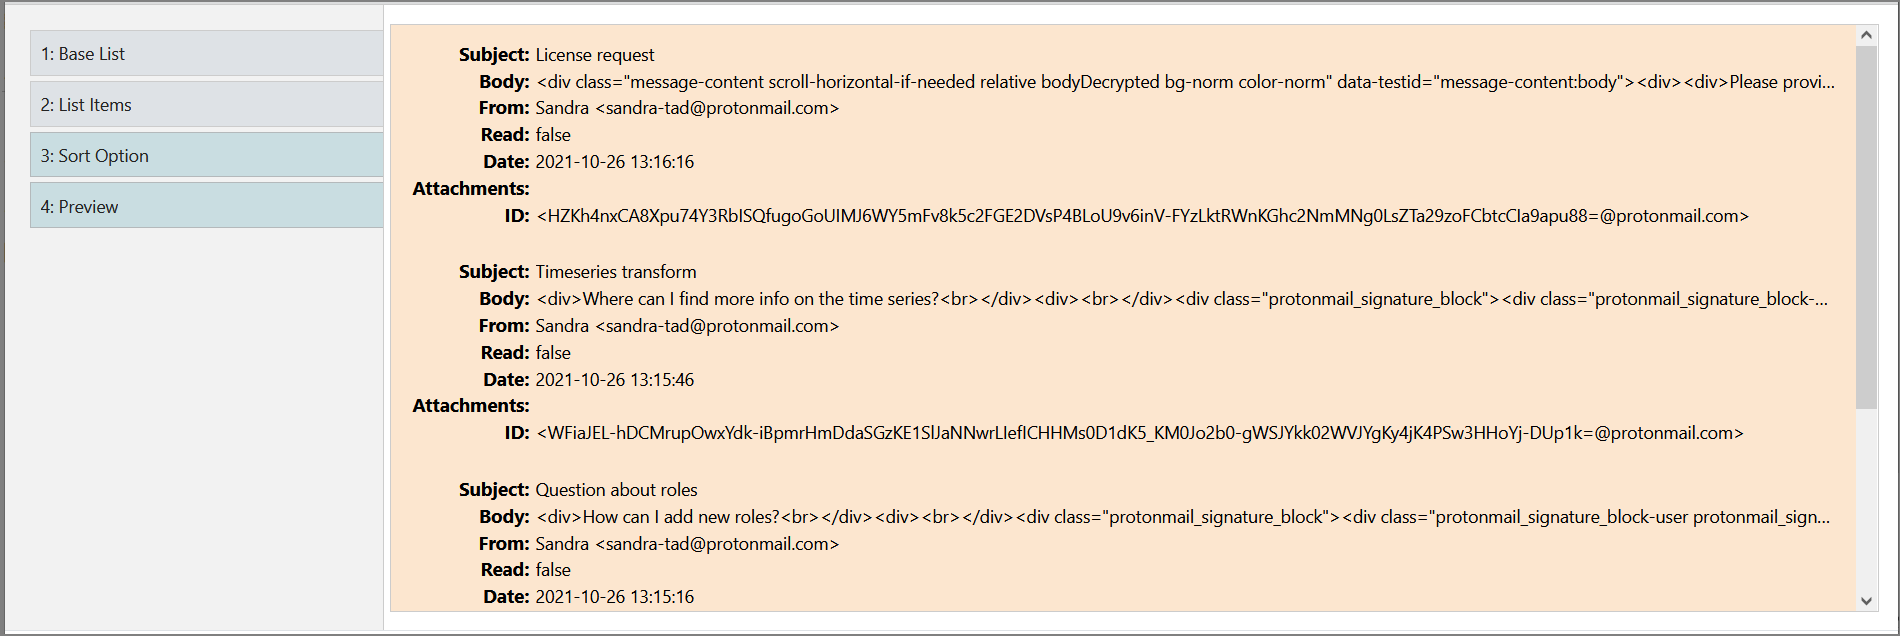
We recommend that you use a List visualization.
Some email providers use HTML formatting for messages by default, and this could affect a table visualization. Alternatively, you can enable plain text when composing emails.
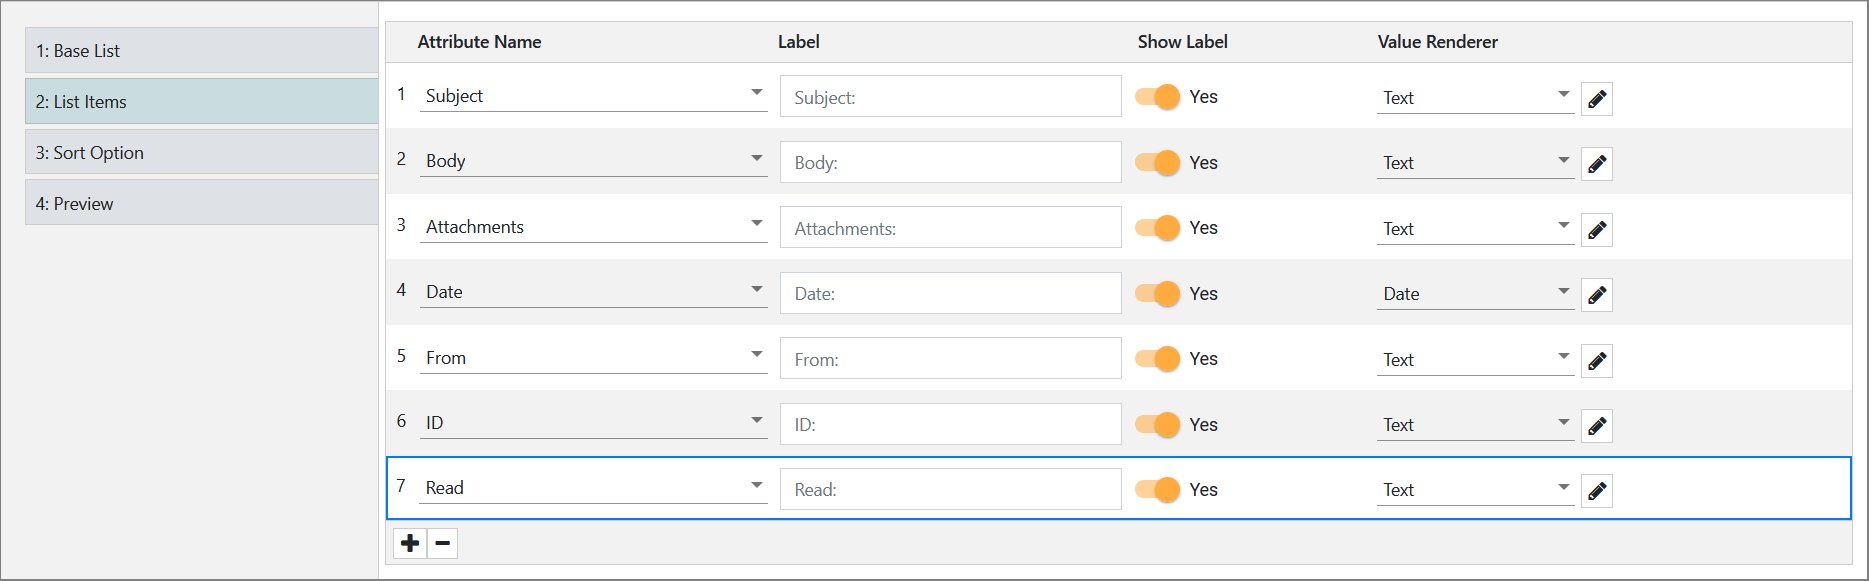
When you start configuring a list visualization, in List Items, add the attributes you want to view by clicking +. In our example, we have added all of them, and they will be shown in the preview.
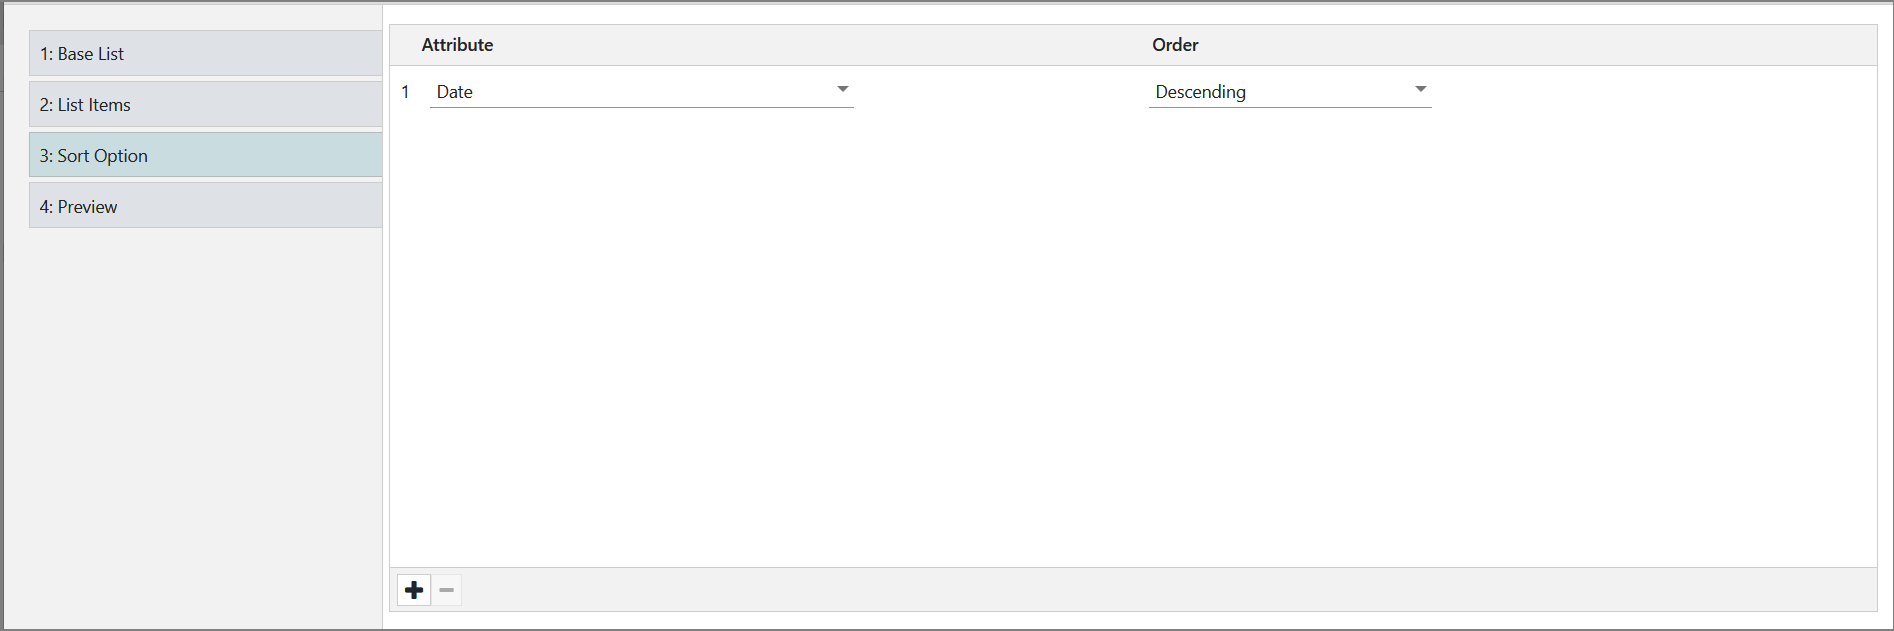
In Sort Option, you can sort the attributes in ascending or descending order. In our example, we have sorted the Date attribute in descending order. As a result, in the preview, the last received email will be at the top of the list.