A CSV Feed will bring in a tabular dataset from a target CSV source. The feed will be designated as a CSV feed in the data pipeline, as seen in the following screenshot.

Configuring CSV Feed
Step 1: Create a Connection
Perform the following steps to connect to a data directory on the local server:
- Click
 .
.
The Connections page is displayed. - Click + in the lower-left corner to create a new connection.
A pop-up for choosing a connection type is displayed. - In the pop-up, select File / Server Filesystem connection type.
- Click Use Selected.
A new page is displayed. - In Connection Name, enter a name for the connection.
- Make sure the Enable Connection toggle is on.
- In Server Path, provide a relative path from the installation folder of edgeCore (for example, data/getting_started).
- Click Next.
You are taken to the Test Connection tab where the confirmation message Connection test was successful is displayed. - Click Save and Close.
The newly created connection is displayed in the list of connections and also in the pipeline.
Step 2: Create a CSV Feed
Now that you have established a connection to a directory of files, you can create a Feed from a specific CSV file.
Perform the following steps to create a Feed from a specific CSV data file:
- Click
 .
.
The connection you created is displayed in the Pipeline. - Click the gear icon button in the connection box and select + .
A pop-up for choosing a Feed Type is displayed. - In the pop-up, select CSV.
A new page is displayed. - On the Configure tab, do the following:
a) In Feed Name, enter a name for the feed.
b) (Optional) Provide a description.
c) In File Name, select the CSV file. In order for the CSV file to appear in this dropdown, it needs to be located in the data folder of the edgeCore build.
d) In File Encoding, select the encoding of the file.
e) (Optional) Enable the Advanced Update Scheduling toggle switch if you want to define an advanced schedule for updates.
f) In Poll Interval, specify how often you can access the data for a feed and also how often the data changes (in seconds). If a server subscription is active (another user is using that node or a server job is making it active), the current data retrieved will be returned. It will not refresh until all server-side subscriptions are closed and a new one is open. If you set the poll interval to 0, that means the data is very static, and you do not expect it to change.
g) (Optional) Turn on the Enable Server Subscription toggle switch in order for data for this feed to be continually fetched, updated, and cached based on the Poll Interval. If enabled, the server will subscribe to the feed, just as a client widget would. This means that the data and any resources that would otherwise be allocated “on-demand” for the first user to view a Visualization that leverages the data produced by this feed are allocated when the server is started and maintained as long as this feed is configured.
h) (Optional) Enable the Persist toggle switch to use persistent table store.
i) (Optional) Enable the Publish Dataset via REST API toggle switch to allow other edgeCore servers or third-party software to connect to this server’s pipeline.
j) Click Next. You are taken to the CSV Parser tab. - On the CSV Parser tab, do the following:
a) In Field Delimiter, specify what character is used to separate columns of data. The default value is a comma.
b) In Header Meta Delimiter, specify what character is used to separate out metadata in the CSV’s header. Header Meta is typically used to handle typing in CSV data so that values can be identified as numbers or dates instead of standard strings.
c) In CSV Parser, specify the parser (OpenCSV’s Default parser or RFC4180).
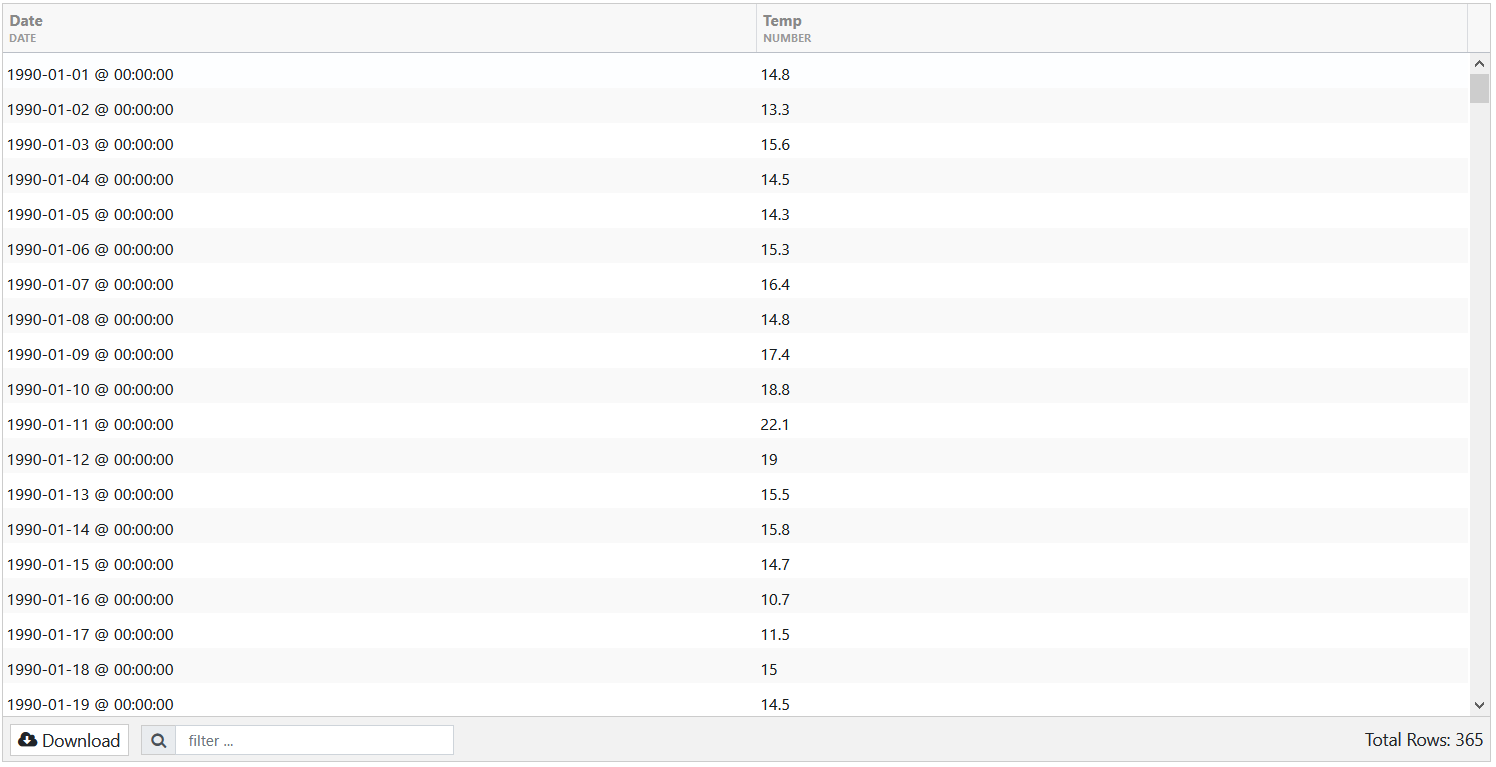
d) Click Next. You are taken to the Attributes DB Options tab. No changes are needed here, so click Next to go to Data Preview. On the Data Preview tab, you can observe the data preview of your CSV Feed.
Data Preview Example:

- Click Save and Close.
The newly created feed is displayed in the Pipeline.
CSV Header Meta Details
Header metadata is optional, and typically CSVs do not include this information. However, for convenience, it can be added either manually (the case with CSV files on the filesystem) or via external scripts with Shell Exec feeds. This can save the step of casting the fields and setting which fields are primary keys once loaded into edgeData – otherwise, all fields are read in as STRINGs without any primary key(s).
An example header with meta information and the first row of data is shown below:
Name|STRING|PK,Description|STRING,Total|NUMBER,LastUpdate|DATE|yyyy-MM-dd
ExampleRow,Description Here,123,2013-06-24
The following meta attributes are allowed:
| Meta Attribute | Description |
|---|---|
STRING |
The field is of type STRING. |
NUMBER |
The field is of type NUMBER. |
BOOLEAN |
The field is of type BOOLEAN. |
DATE |
The field is of type DATE. This attribute requires a second attribute to specify the date format:
|
PK |
The field is a primary key. Multiple PKs may be defined. |
Uploading CSV Files through the User Interface
edgeCore version: 4.3.7
To upload CSV files to feeds without having to access the server, click + next to File Name.
Make sure the file extension matches the feed type (in this case, the extension needs to be .csv).
Once you upload the CSV file, you can select it from the File Name dropdown.
