If you want to display a calendar on a page, you may do so in a few different ways.
Creating an HTML date picker
Take the following steps:
- In the pipeline, find any feed (for example, a CSV) and click the gear icon > + > New Visualization.
A pop-up is displayed. - Select HTML Template.
A new window is displayed. - Provide a name for the visualization (for example, Calendar).
- Go to the Renderer tab > HTML and paste the following code:
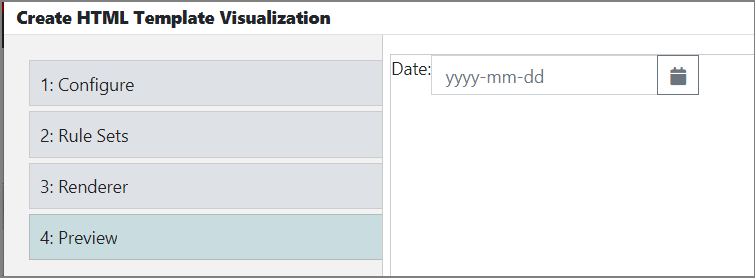
<form class="form-inline"> <div class="form-group"> <div class="input-group"> <p>Date: </p> <input class="form-control" placeholder="yyyy-mm-dd" name="dp" [(ngModel)]=model ngbDatepicker #d="ngbDatepicker"> <div class="input-group-append"> <button class="btn btn-outline-secondary calendar" (click)="d.toggle()" type="button"><i class="fa fa-calendar"></i></button> </div> </div> </div> </form> - Go to Preview to view the end result.

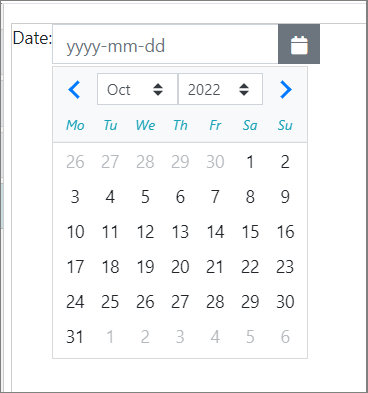
To open an interactive calendar in a small overlay click the calendar icon.

To close the calendar, choose a date, click elsewhere on the page, or hit the Esc key.
Creating an HTML datetime picker
edgeCore version: 4.5.0
- Repeat steps 1-3 outlined above.
- In Renderer > HTML paste the following code:
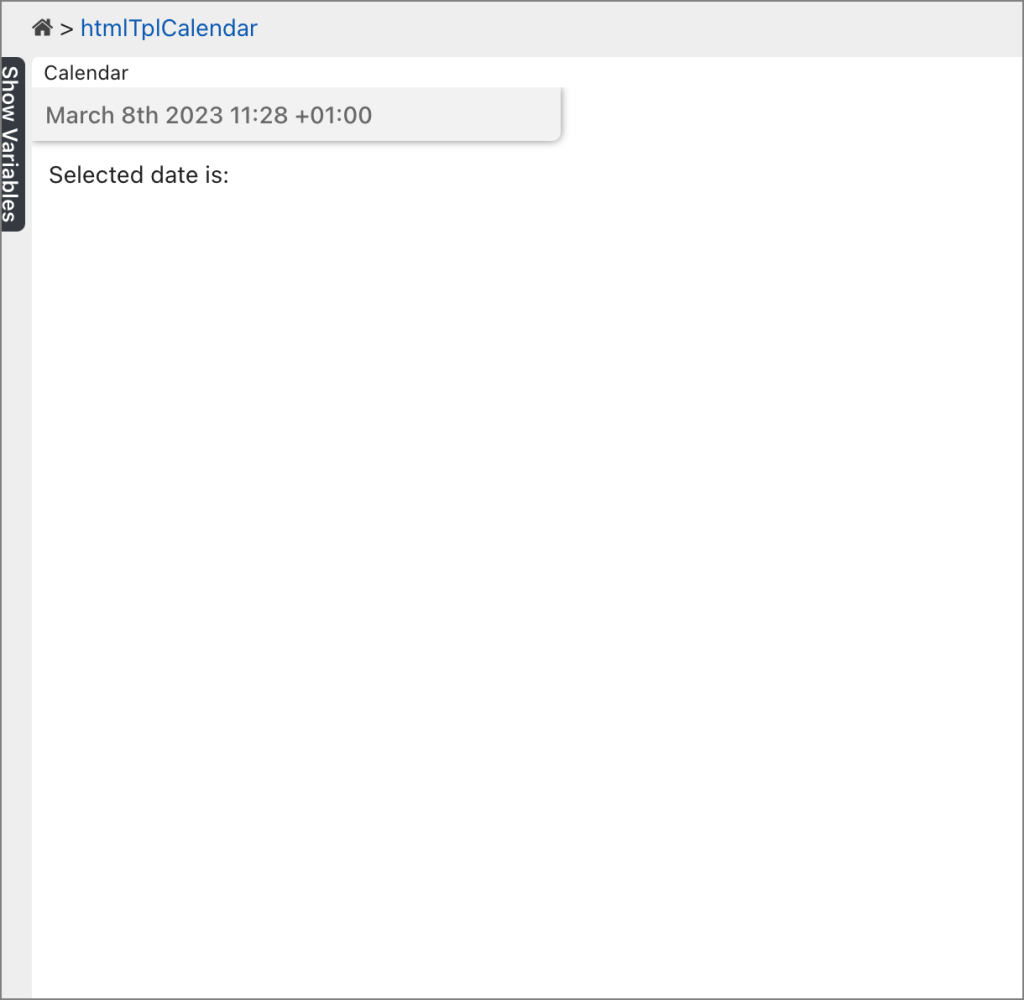
<!-- jsCalendar v1.4.4 Javascript and CSS from unpkg cdn --> <div class='container'> <div class='calendar-header'> <div class='calendar-clock'> <h6 id='clock'></h6> <!-- target jsCalendar element --> <div id="calendar"></div> </div> </div> <div class='calendar-events'> <!-- <div class='event' *ngFor="let row of rows"><strong><span>{{row.SUMMARY}}</span></strong> - <span>{{row.CATEGORIES}}</span> <strong><span>@ {{row.LOCATION}}</span></strong> - <span>{{row.CLASS}}</span><br><span>Created: {{row.CREATED | date:long}}</span><hr><span>Starts at: {{row.DTSTAMP | date:'long' }}</span><br><span>Repeats: <strong>{{row.RRULE||'FREQ=No' | slice : 5 | titlecase }}</strong></span><br><div class='event-desc'><span>{{row.DESCRIPTION}}</span></div></div>--> <div id="date-container"> Selected date is: </div> </div> </div> - In Renderer > JavaScript paste the following code:
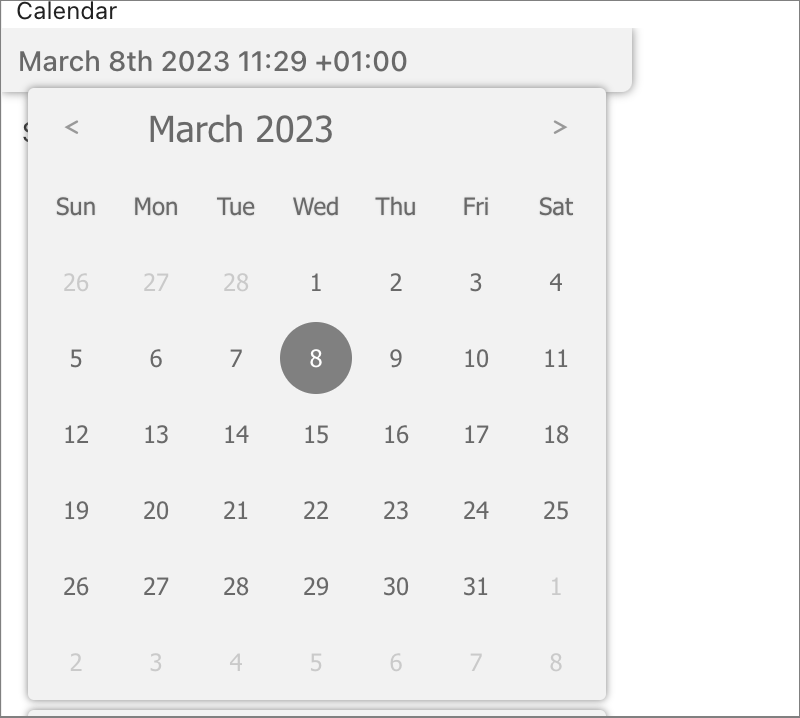
function refreshData() { var time = moment().format('MMMM Do YYYY HH:mm Z'); $('#clock').text(time); setTimeout(refreshData, 1000); } refreshData(); // execute function function init() { component.loadResources(['https://unpkg.com/simple-jscalendar@1.4.4/source/jsCalendar.min.js', 'https://unpkg.com/simple-jscalendar@1.4.4/source/jsCalendar.min.css']).then(() => { //console.log('resources have been loaded and can now be used'); // Please note, the then() function will be called every time the visualization // is initialized, despite if the script has previously been loaded. jsCalendar.new("#calendar", "now", { monthFormat: "month YYYY", dayFormat: "DDD" }).onDateClick(function(event, date) { // console.log('Date: ', date); $('#date-container').text("Selected date is: " + date.toString()); }); }); } // ... any additional javascript or functions ... init(); - In Renderer > CSS paste the following code:
.container { display: block; height: 100%; width: 100%; margin: 0px; padding: 0px; overflow: auto; max-width: unset; } .calendar-header { display: block; width: 315px; transition:all 0.4s; height: 32px; border-radius: 0px 0px 5px 0px; background: #f2f2f2; box-shadow: 0px 0px 5px gray; padding: 8px; position: absolute; top: 0; left: 0; color: dimgray; z-index: 100; h3 { margin: 0px; margin-bottom: 0; font-weight: 500; line-height: 1.6; } .calendar-clock { display: block; width: 100%; } #clock { margin-bottom: 0px; } .jsCalendar table { display:none; opacity:0; height:0px; background-color: #f2f2f2; border-collapse: collapse; border-radius: 3px; box-shadow: none; color: #696969; font-family: Tahoma, Geneva, sans-serif; margin: 5px; transition:all 0.4s; box-shadow:0px 0px 4px gray; } } .calendar-header:hover { .jsCalendar table { display:block; opacity:1; height:auto; } } .evt-count { color: gray; font-size: small; } .calendar-events { padding: 10px; overflow: auto; width: 100%; height: 100%; padding-top: 42px; .event { display: block; width: 96%; margin: 2% 2%; background: #f2f2f2; box-shadow: 0px 0px 2px lightgray; border-radius: 5px; border: solid 1px #cccccc; transition: all 0.2s; padding: 10px; } .event-desc { padding: 10px; width: 100%; height: auto; background: white; margin-top: 10px; border-radius: 4px; box-shadow: 0px 0px 2px gray inset; } hr { margin: 2px; } .event:hover { cursor: pointer; transform: scale(1.05); box-shadow: 0px 0px 20px dimgray; } } .calendar-events::-webkit-scrollbar { display: none; } .calendar-events { -ms-overflow-style: none; /* IE and Edge */ scrollbar-width: none; /* Firefox */ } .jsCalendar tbody td.jsCalendar-current { background-color: #808080; border-radius: 18px; color: #fff; } - Click Save and Close and add the HTML visualization to a page.

